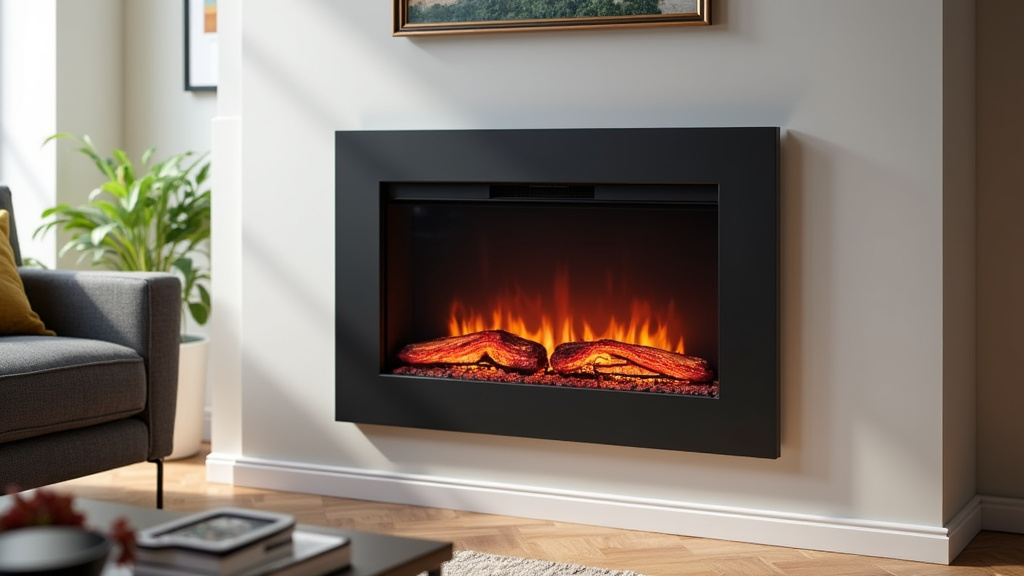
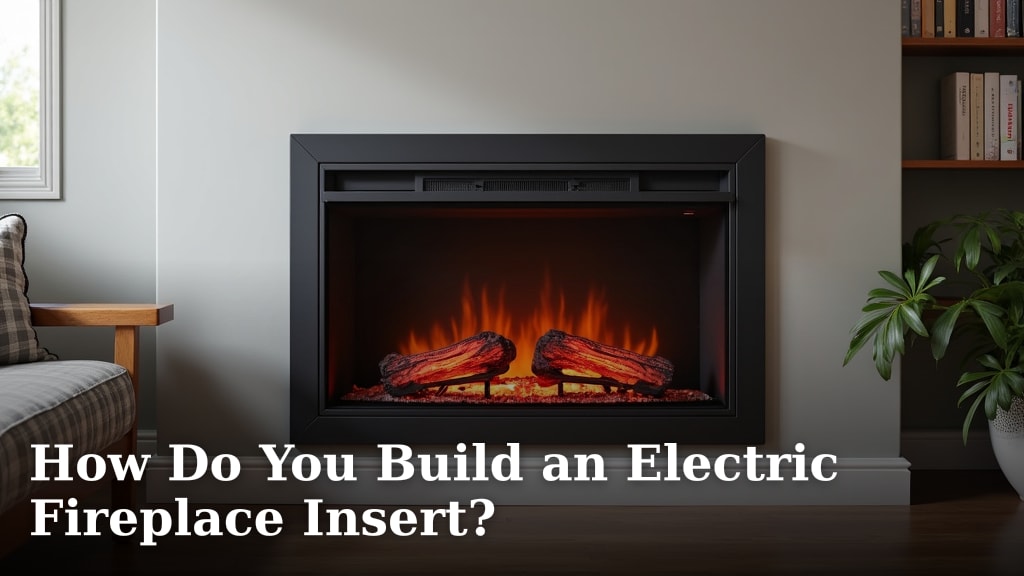
How Do You Build an Electric Fireplace Insert?
Conclusion
Building an electric fireplace insert is a practical project that combines style with functionality. You now understand the key steps: from planning and measuring to selecting safe materials and wiring. Remember, following electrical codes is critical to avoid hazards, and taking your time ensures quality results. If any part feels overwhelming, it’s wise to consult a professional for peace of mind. Your next step is simple: grab your measuring tape and sketch out a plan for your space. Start small, stay safe, and enjoy the cozy warmth you’ve created.
Frequently Asked Questions
How long does it typically take to build an electric fireplace insert?
The timeline depends on your skill level and project complexity. Most DIY builders complete it over a weekend or a few evenings. Rushing can lead to mistakes, so plan for patience.
What materials are safest to use for the surround?
Experts recommend fire-resistant materials like non-combustible cement board or treated wood. These help contain heat and reduce fire risks. Always avoid flammable substances near the heating elements.
Can I use a regular extension cord for the insert?
No, you should never use an extension cord for a permanent fireplace installation. It can overheat and create a fire hazard. Instead, ensure it’s plugged directly into a properly rated outlet.
Is building my own insert cheaper than buying a pre-made one?
It can be more affordable if you already have tools and basic skills. However, costs add up for quality materials and electrical parts. Compare your estimated expenses with store prices before starting.
How do I maintain my electric fireplace insert after building it?
Regular maintenance includes dusting the unit and checking connections annually. Turn off the power before cleaning to stay safe. This simple routine helps extend its lifespan and performance.